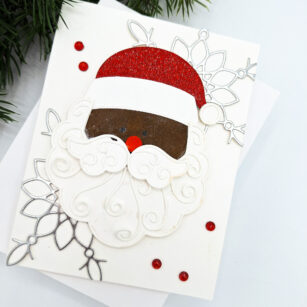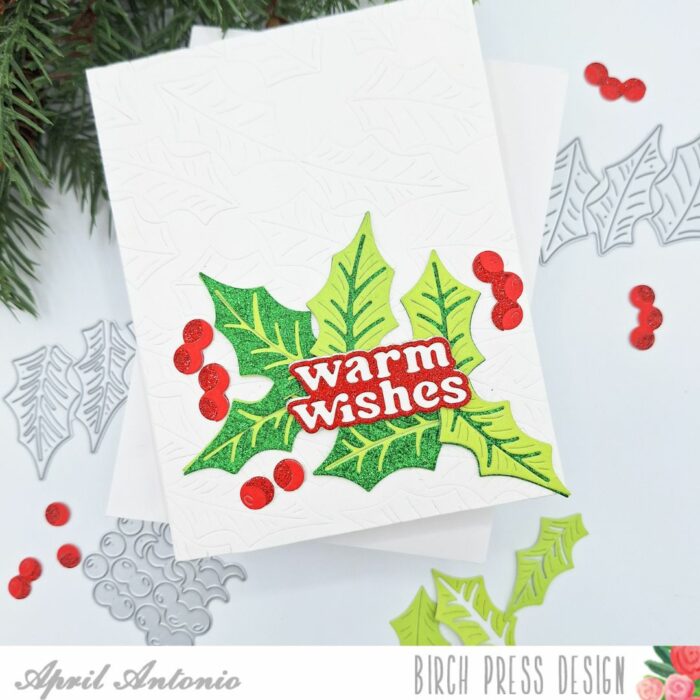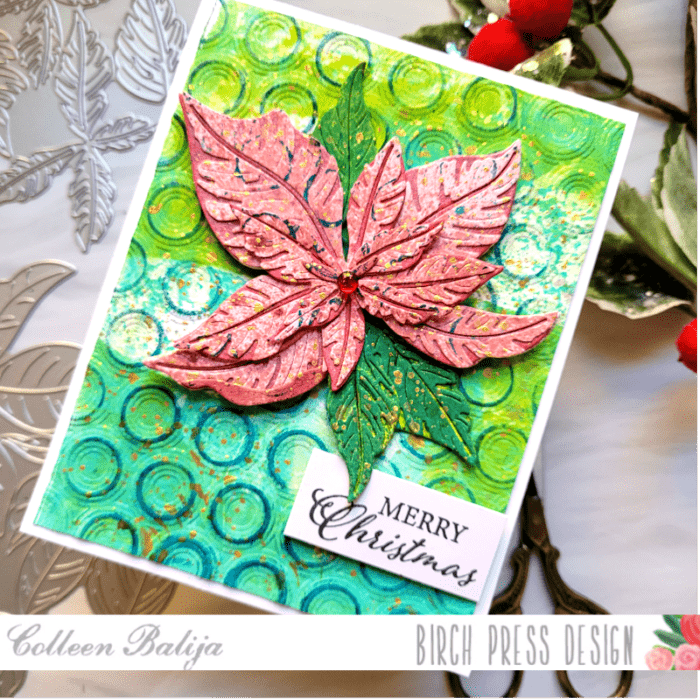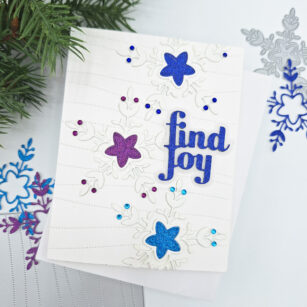
Happy Saturday! I’m so excited to be back on the blog today sharing a card on this Christmas weekend. I used the really fun Piped Icing Star die set to create a sparkling holiday card. Read on to find out how I paper pieced this card together.
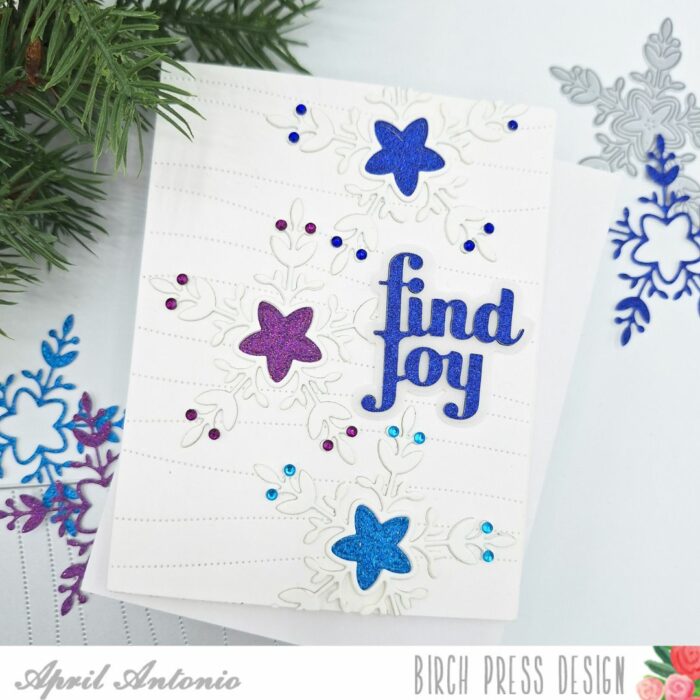
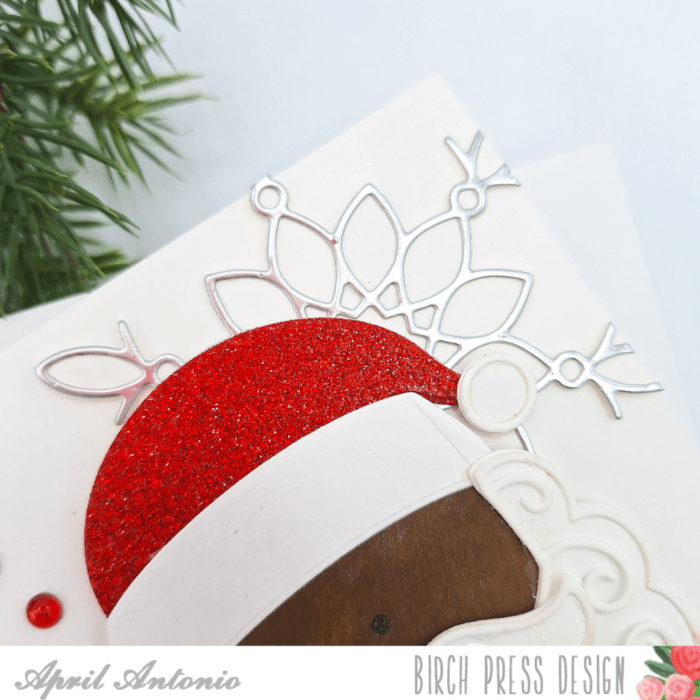
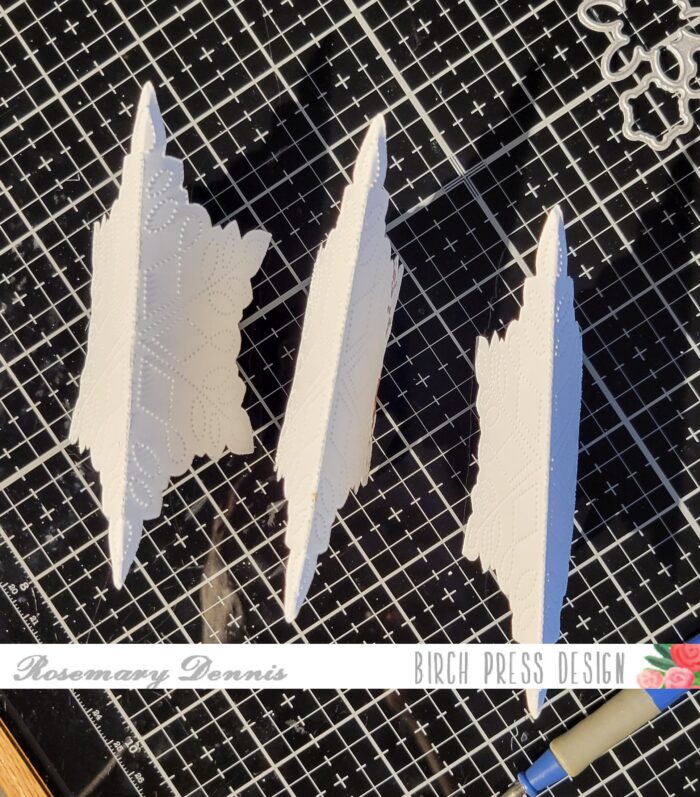
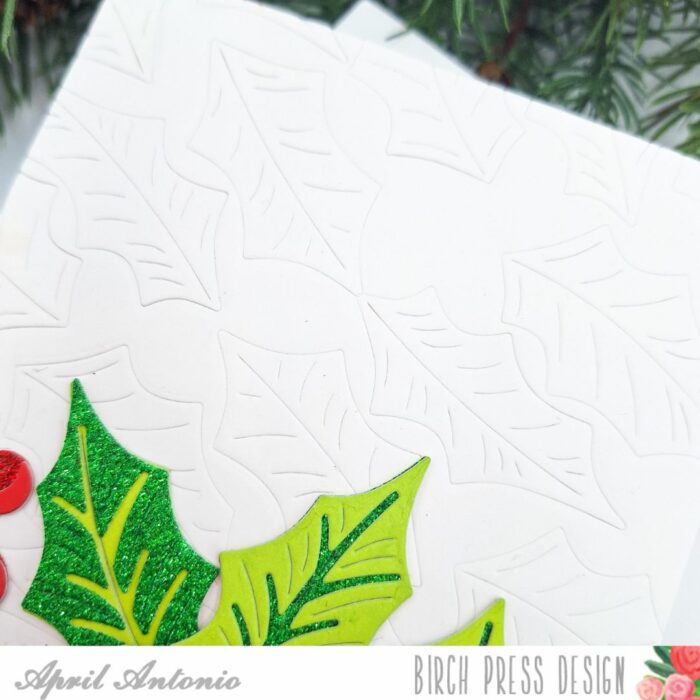
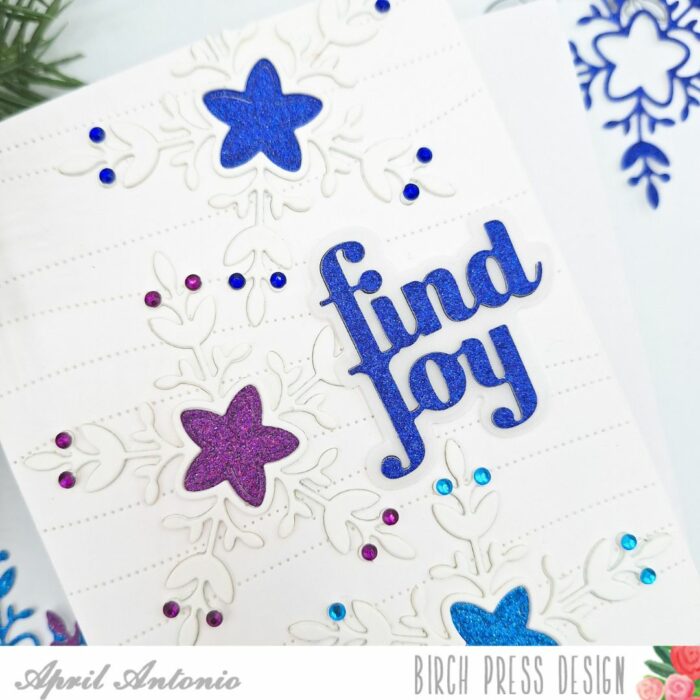
I cut an A2 sized panel from white cardstock and then used the ‘icing’ part of the Piped Icing Star die set to cut from the panel three times — at the bottom, the middle, and the top, creating a visual triangle along with the placement. I then took the panel and die cut it withe the Pinpoint Contour Plate to give the background the fun wavy dot texture.
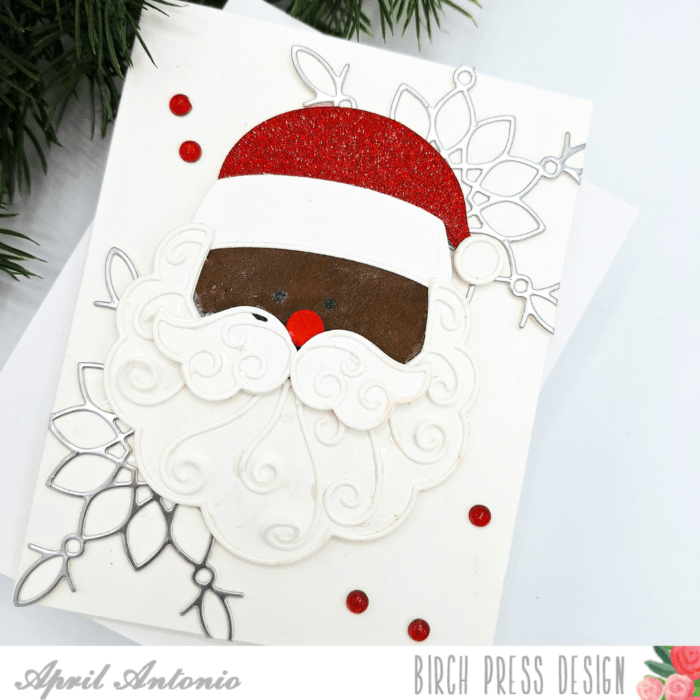
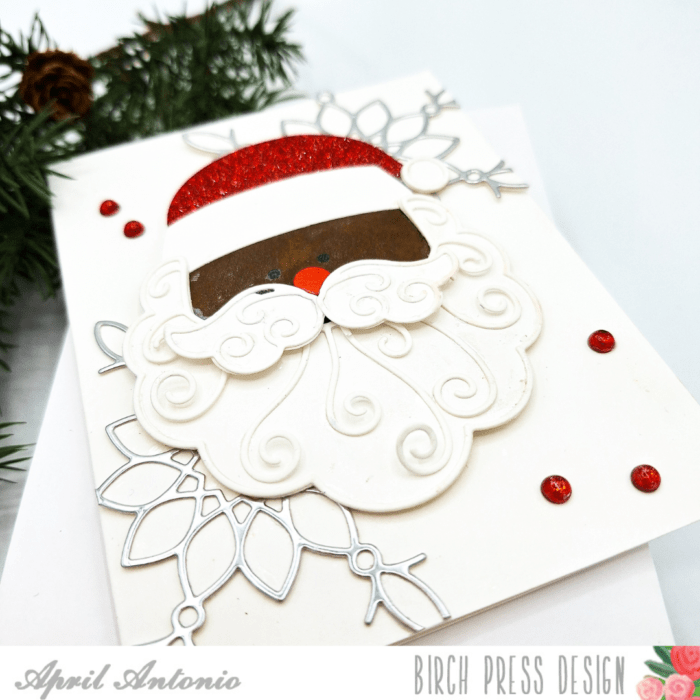
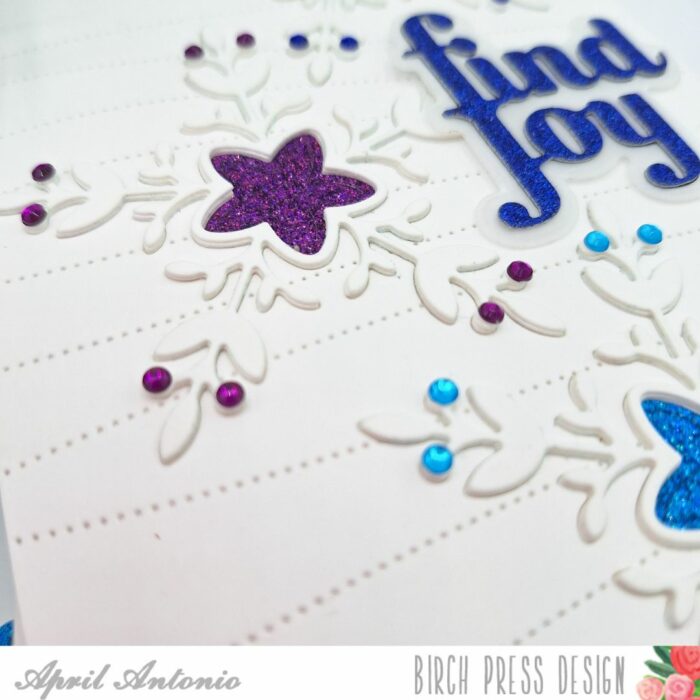
I glued the panel to an A2 card base and then did one of my favorite things – die cut inlay. I cut the intricate star from white cardstock multiple times, and then stacked them three times into the openings I cut into the cardstock panel.
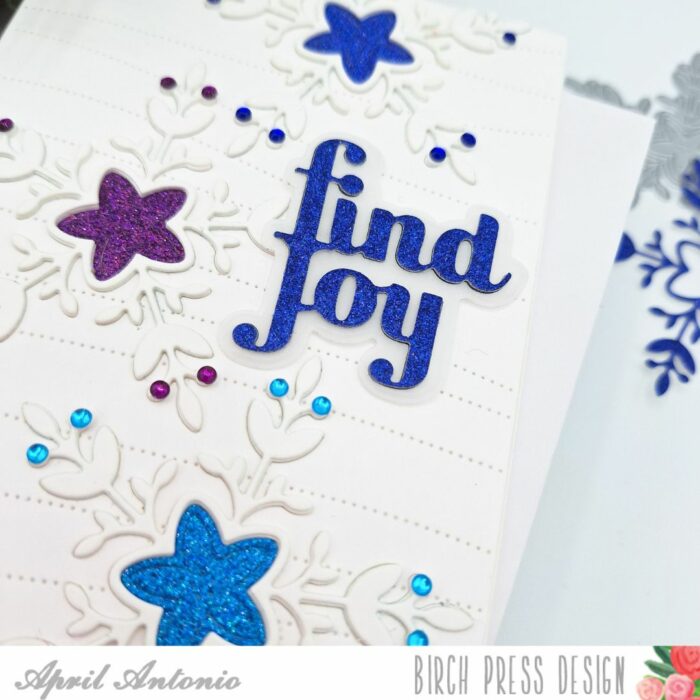
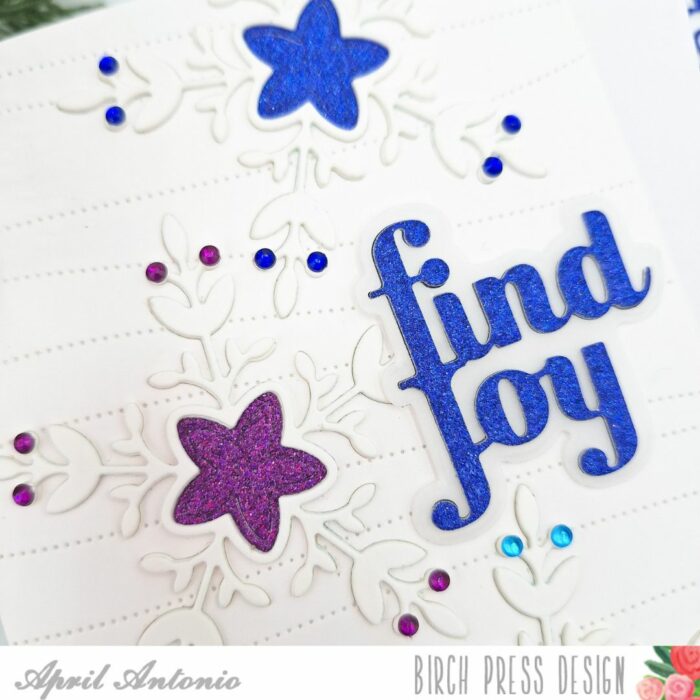
I also cut the star from three colors from the Glitzy Glitter Pad (dark blue, medium blue, and purple) and added the inner star pieces into my die cut inlays.
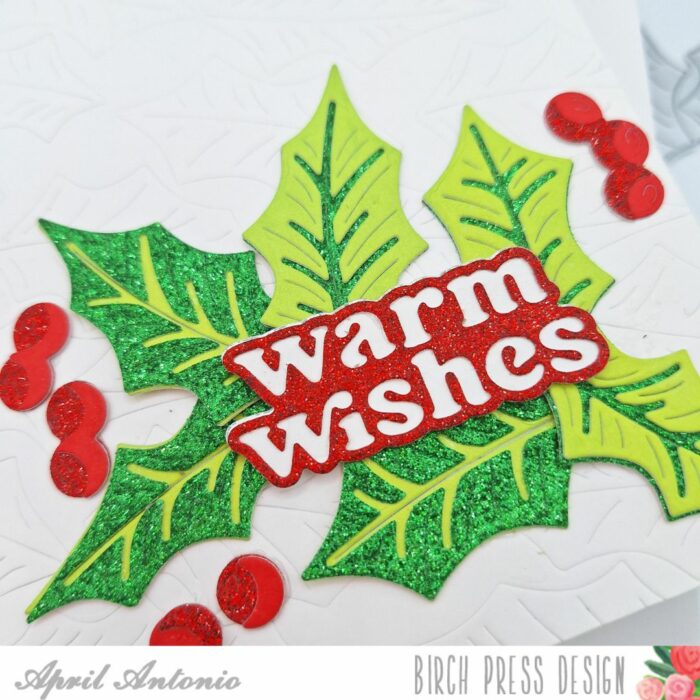
I used the same dark blue to cut the words ‘find joy’ using the Find Joy die set. The shadow I cut from vellum, and I cut the word once from black cardstock and layered it underneath the glitter from some added dimension.
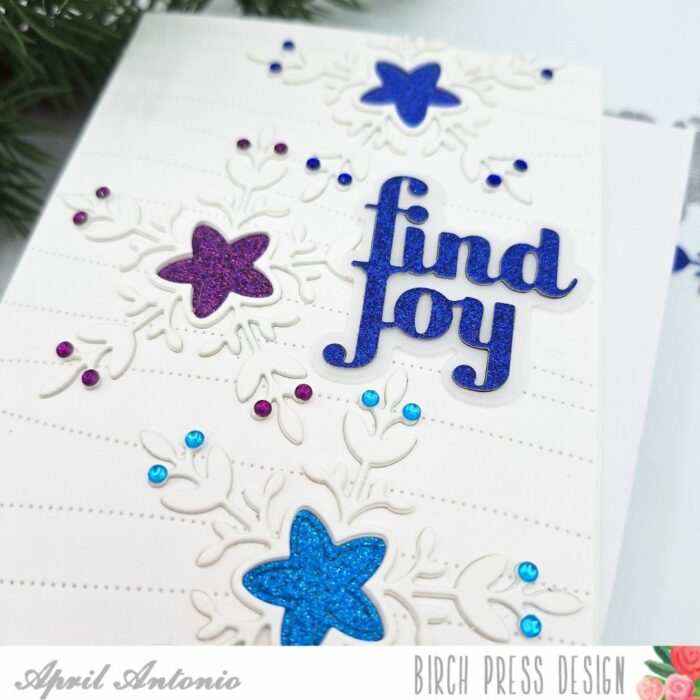
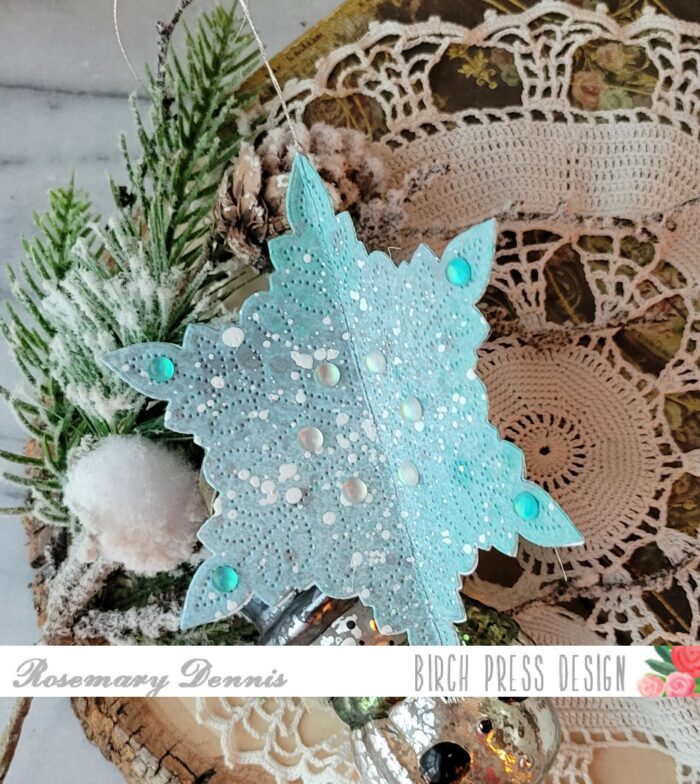
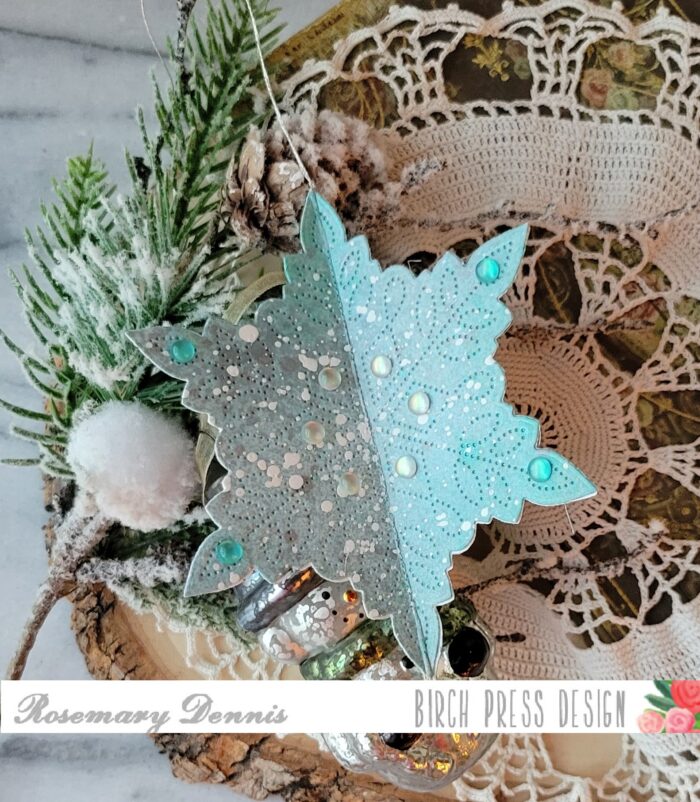
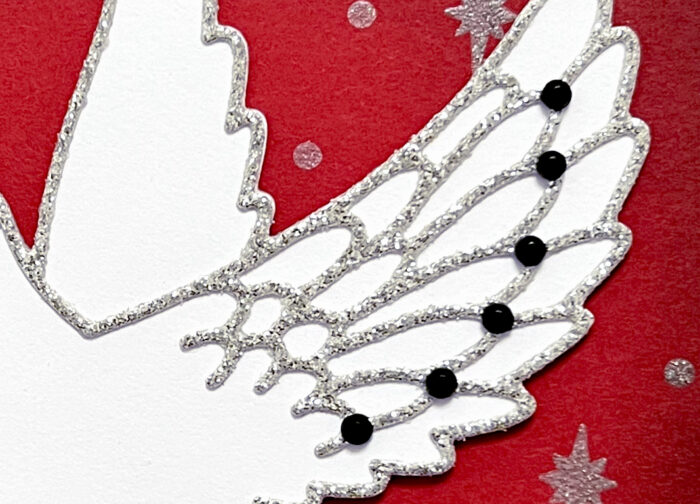
Lastly, I had to add some sparkle of course! I used the Bright Jewels rhinestone set to add matching jewels to each star.
That is it! I love die cut inlay, and with the beautiful piped icing set it’s easy to cut everything from white and add a little shine with glitter. I hope you have an amazing holiday season and happy new year!

Supplies


Supplies